How to Sew a Bed Pillow Case: Easy Beginner Guide
Quick Answer
To sew a bed pillow case, cut a main fabric rectangle, a cuff and an optional trim strip, join them with the burrito method, then close the side and bottom with French seams. For a standard pillow, cut the main piece 27 by 43 inches and the cuff 11 by 43 inches, using a quarter-inch seam allowance. The project uses only straight seams.
A pillow case is one of the best first sewing projects. There are no curves, darts, zippers or fitting problems. You cut rectangles, sew straight lines, press as you go, and end up with something you will use every night.
This guide uses the burrito method. It joins the body, cuff and trim in one seam and finishes the inside with French seams, so no raw edges show.
What You Need Before You Cut
Start with the pillow, not the fabric. Standard bed pillows are 20 by 26 inches, queen pillows are 20 by 30 inches, and king pillows are 20 by 36 inches. Measure your pillow if it is an odd size, including its thickness: a case cut too small will pull tight and strain its seams.
For fabric, 100% cotton quilting cotton is the easiest choice for a first case. It presses crisply, holds a crease, and does not stretch out of shape while you sew. Avoid satin and silk for a first attempt: they are slippery and make straight seams much harder to control. Our guide to what neck pillows are made of explains common fills and covers, and the same ideas about breathability apply when you choose case fabric.
You will also need a sewing machine, coordinating thread, a universal needle in size 80/12, fabric scissors or a rotary cutter and mat, a ruler, pins or clips, and an iron. Set a straight stitch about 2.5 mm long.
Wash, dry and press the fabric before you cut it. Cotton can shrink 3 to 5 percent on its first wash, so a case sewn from unwashed fabric can come out smaller and slightly twisted. Press out every wrinkle, because a wrinkle you cut across becomes a wobble in the seam.
How Much Fabric to Buy and What Size to Cut
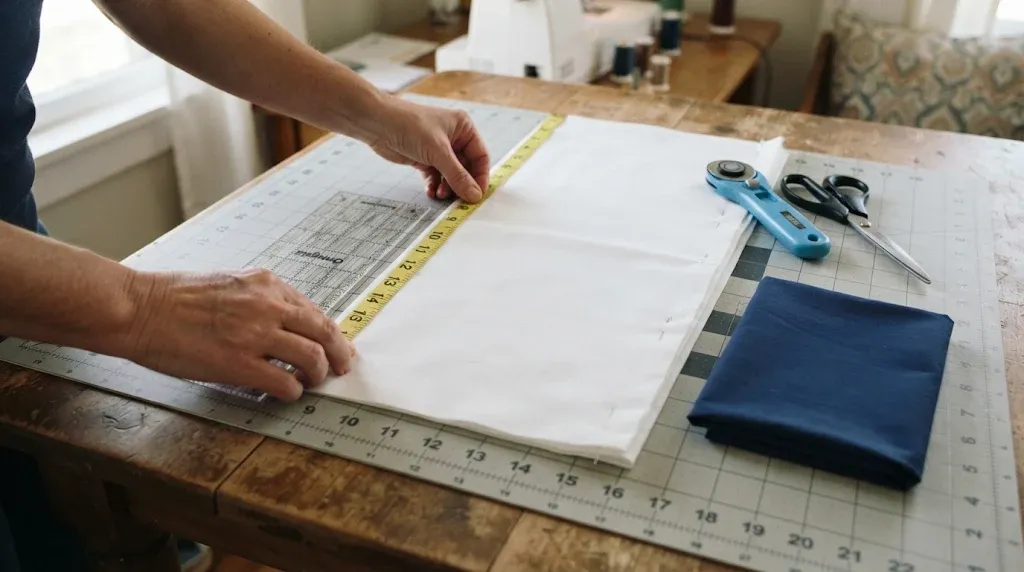
The burrito method uses three rectangles: the main piece, the cuff band at the opening, and a narrow folded trim strip between them. You can skip the trim, and you can use the same fabric for the body and the cuff.
Use 44- or 45-inch-wide fabric. The measurements below are for one case, with the cuff and trim the same for all three sizes. Double everything if you are making a pair.
| Pillow size | Main fabric to buy | Main piece to cut | Finished case, about |
|---|---|---|---|
| Standard, 20 x 26 in | 3/4 yard | 27 x 43 in | 20 x 30 in |
| Queen, 20 x 30 in | 1 yard | 31 x 43 in | 20 x 34 in |
| King, 20 x 36 in | 1 1/4 yards | 37 x 43 in | 20 x 40 in |
For every size, cut the cuff 11 by 43 inches and the trim, if you are using one, 2 by 43 inches. You will need half a yard of cuff fabric and a quarter yard of trim fabric. If you are still deciding which pillow to cover, the notes on choosing the right pillow can help.
Check the print direction before you cut. A one-way design needs about a quarter yard extra. Square up the fabric first: fold it selvedge to selvedge and trim the cut end at a right angle.
How to Sew a Bed Pillow Case Step by Step
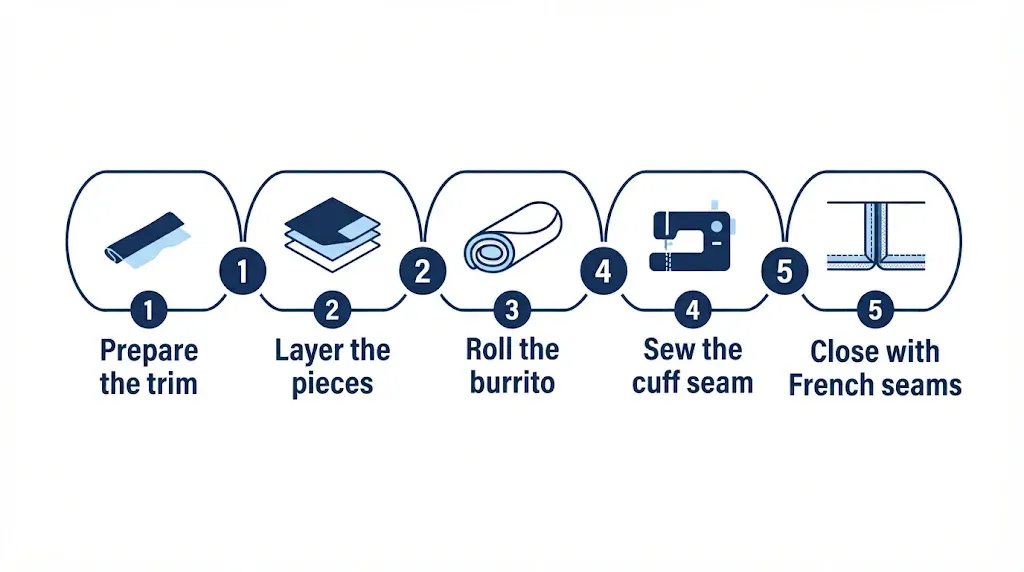
The method below follows the burrito technique in The Spruce Crafts burrito pillowcase tutorial, which uses the same cutting sizes and seam allowances. The rolling step looks strange the first time, but it hides the raw edges.
1. Prepare the trim
If you are using a trim strip, fold it in half lengthwise with the wrong sides together and press it well. The folded edge will show as a thin band between the cuff and the body. A crisp fold keeps the strip from shifting.
2. Layer the pieces in order
Lay the cuff right side up. Lay the main fabric on top, also right side up, matching one long raw edge. Lay the folded trim on top, with its folded edge facing away from the matched raw edges. This order feels wrong, but the roll in the next step turns the layers into the right arrangement.
3. Roll the burrito
Starting at the bottom edge of the main fabric, roll it up toward the cuff. Stop when it reaches the middle of the cuff, then roll the cuff over the roll, bringing its free edge to meet the raw edges you aligned. Pin along that edge, catching all the layers, including the trim. Do not pin or sew through the roll itself.
4. Sew the cuff seam and unroll
Sew along the pinned edge with a quarter-inch allowance. Backstitch at the start and the end, and remove the pins as you reach them. Then reach inside the tube, take hold of the main fabric, and pull it out of the cuff until the case is right side out. Press the cuff seam well. You now have a tube with a finished cuff at one end and the side and bottom still open.
5. Close the side and bottom with French seams
A French seam encloses the raw edges inside a second seam, so the inside looks neat and the edges do not fray in the wash. Fold the tube in half with the wrong sides together, so the right sides face out. Match the cuff seam at the opening, pin the side and the bottom, and sew both with a quarter-inch allowance.
Trim that first allowance to about an eighth of an inch and clip the corner where the side and bottom meet. Turn the case inside out, push the corner out with a chopstick or pencil, press, then sew the same two edges again with a half-inch allowance. That second pass traps the raw edges inside. Turn the case right side out and press it once more.
Want the Pillow to Stay Tucked In? Try the Envelope Version
A standard open-ended case lets the pillow slide out, especially if it is slightly loose. An envelope closure fixes that with an inner flap that overlaps the back of the pillow and holds it in place. No zipper or buttons are needed.
The envelope version uses one piece of fabric instead of separate body, cuff and trim pieces. For 44-inch-wide fabric, allow 1 yard for standard, 1 1/4 yards for queen, and 1 1/2 yards for king. The flap is usually about 6 inches deep, or 9 inches for a firmer hold. Craft Passion’s envelope pillowcase tutorial shows the cut-out shape for each size.
Hem the two short edges first, fold the case wrong sides together, sew the side and bottom with a quarter-inch allowance, trim and turn it, then fold the flap over and sew it with a three-eighths-inch allowance. Choose the envelope version if the pillow keeps escaping, or the open burrito version for the fastest first project.
Common Mistakes and How to Fix Them
Most pillow case problems come from cutting, pressing or seam allowance, not from the sewing machine.
- Case too tight. Measure the pillow again, including its thickness, and check that you used the cutting size for that pillow, not the finished size.
- Case too loose. The pillow may be smaller than the size you cut for, or the fabric stretched while you sewed. Support the fabric as it feeds.
- Wavy seams. Slow down, watch the seam guide instead of the needle, and let the machine feed the fabric. Press each seam before the next step.
- Raw edges showing inside. The second French seam pass missed the first allowance, usually because it was not trimmed to an eighth of an inch first. Trim it evenly and re-sew the second pass at a half inch.
- Bulky corners. Clip the corner after the first French seam pass and trim the allowance before turning. Push the corner out with a blunt tool, not a sharp point.
- Seam puckers. Check the thread tension, use a fresh 80/12 needle, and do not push or pull the fabric. A 2.5 mm stitch length suits quilting cotton.
If a seam goes badly wrong, unpick it rather than sewing over it.
How to Wash and Care for a Case You Sewed
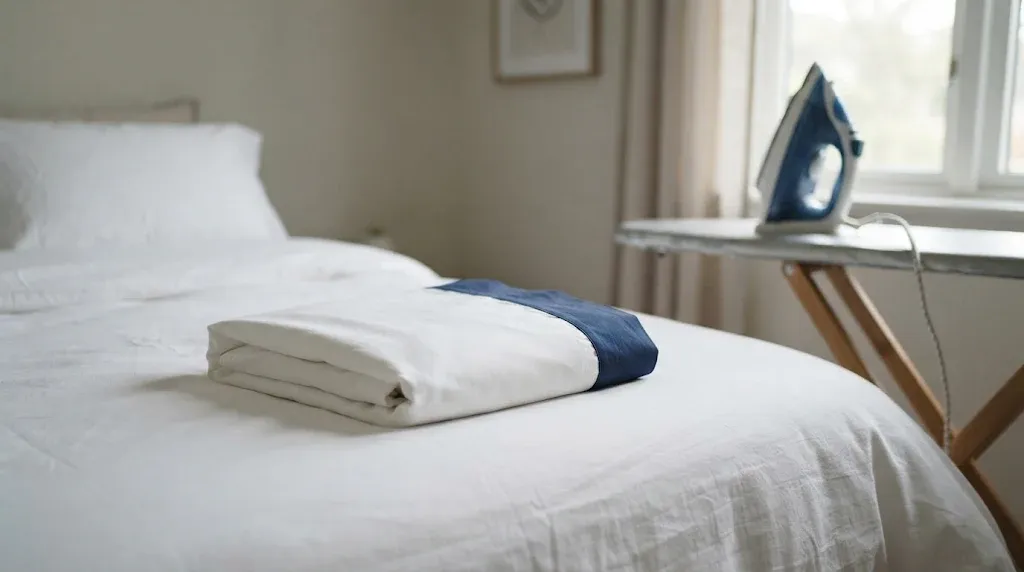
Wash the finished case as you would a shop-bought cotton case, following the fabric care label. Cold or warm water and a gentle cycle suit most quilting cotton. Turn the case inside out before washing so the French seams take the wear.
Dry the case fully before you put it back on the pillow. For fuller guidance, see how to wash and clean a neck pillow safely.
Related Product
100% Cotton Quilting Fabric
A tightly woven cotton quilting fabric presses crisply, holds its shape while you sew, and washes well: the easiest fabric for a first pillow case.
As an Amazon Associate, we earn from qualifying purchases.
Frequently Asked Questions
How much fabric do I need to sew one bed pillow case?
For the burrito method, allow 3/4 yard of main fabric for standard, 1 yard for queen, and 1 1/4 yards for king, plus half a yard of cuff and a quarter yard of trim. For an envelope case, allow 1, 1 1/4 and 1 1/2 yards. Double the amounts for a pair.
Can I sew a pillow case without a sewing machine?
Yes, but it will take much longer. The seams are all straight, so hand sewing with a small backstitch works. Use a strong thread and keep the stitches even. A machine is worth borrowing for a first case.
What is the easiest way to sew a pillow case for a beginner?
The burrito method is the easiest reliable way. It uses only straight seams, needs no zipper or pattern, and finishes the cuff and inside edges in the same project. Follow the cutting table for your pillow size.
What seam allowance should I use for a pillow case?
Use a quarter-inch allowance for the cuff seam and the first pass of each French seam, then a half-inch allowance for the second pass. The wider second pass encloses the raw edges.
How do I stop the pillow from slipping out of the case?
Make an envelope case with a 6- to 9-inch inner flap, or cut the open case a little snugger so it grips the pillow. A case that is too loose will not hold a pillow no matter how it is closed.
Do I need to pre-wash fabric before sewing a pillow case?
Yes. Wash, dry and press cotton fabric before cutting, because cotton can shrink 3 to 5 percent on its first wash. A case sewn from unwashed fabric can end up smaller and slightly twisted.
Conclusion
Sewing a bed pillow case comes down to three decisions: measure the pillow, choose a fabric that presses well, and sew straight seams with a consistent allowance. The burrito method handles the cuff and the raw edges in one project, and French seams keep the inside neat through washing. Cut carefully and press after each step.

I’m a home decor enthusiast who loves discovering beautiful room ideas, creative DIY projects, and Pinterest-worthy decorating inspiration. At DecorMinty, I share simple tips, fresh trends, and practical ideas to help you create a home you’ll truly love—one room at a time.